Wednesday, October 31, 2012

Happy Halloween! Bye Bye October!

So we are going to be nicely in fall tomorrow, I mean we are celebrating Halloween today, we are just getting ready for Thanksgiving. Is there any other proof needed to say that its fall, finally?


At Blooms And Bugs, We are gearing up for a new series of tutorials. Fall Wardrobe Revamp 2012. Are you also feeling like you are suddenly short of cold weather clothing? Or maybe you have some basic pieces that you would like to update for the season. Stay with us in November and we will show you how to update some basic pieces and add some fun accessories to you fall wardrobe. Its time we did some selfish sewing.
We also have some blogging friends joining in the fun, I will have more updates on that next week. If you would like to join in and do some selfish sewing, don't forget to send us the link/pictures of your creations. If you have done some coolwarm refashions earlier that you would like to share, send in the links. I'm going to post multiple roundups of Refashion+ Accessories tutorials throughout the month, so I'm on the lookout for clever refashions right now. And I will be very grateful if you would put our button on your website to help spread the word.

In the meantime have you been checking out Sew Pretty Sew Free. We are just wrapping up our Bags, Wallet, Clutches and Tote Month. Which means bag tutorials galore. I have also compiled a master list of all the bag tutorials I featured this month for people who don't want to browse every post. I hope you find it helpful.


Pin It

Layer Cake Dress Sewing Tutorial

layer cake dress sewing tutorial


Normally, The Little One is very indifferent when it comes to my sewing for her. I often have to offer some bribes to get her to try that new dress I just finished, or a pair of pants I made for her. Every once in a while I get lucky. Once I was browsing sewingmamas.com forums and somebody "Sew n Show"ed this pieced knit dress with a big cake on the front. And that was it, my daughter fell really hard for that dress, she wouldn't let me turn off my computer until I made her a similar one. I just had no choice but to start sewing a similar dress, even though I didn't know the techniques used to make the dress. I emailed the lady who had sewn the dress asking her the part that I didn't understand, but my daughter wasn't willing to wait. So I just made the dress the way I knew. I did get a response from the mama who made the dress originally and now I know how to do it right. I have added her technique as a note in the relevant steps, so you could get it right. But both the munchkin and I love the dress. Do you have a girl who might love to have a dress like this one? Here is how to draft and sew Layer Cake Dress:

Supplies: 
Different knit fabrics, with at least one half yard piece for bodice
Complexity:
Intermediate
Time:
2-3 hours
Construction:


drafting dress pattern with a tee
1. Place a well fitting tee over the folded fabric.

cutting out dress bodice
2. Draw a line along the Tshirt silhouette. This is the dress pattern without sewing margins and front neckline.

dress bodice
3. Add 3/8 inch of sewing margin along the silhouette you just made. Cut both layers.

cutting out teh front neckline
4. Cut out one of the layers deeper to make the front neckline.

sewing teh lettuce hem
5.Place both layers one over the other ( right sides together). Sew along the shoulders and sides. Sew a lettuce hem at the bottom. Here is a tutorial on how to do lettuce hem.
Note: I have explained a better technique to do this in Steps 8-10. So skip to them if you want to learn that. Step 5-7 are the steps I used to create this dress. But step 8-10 is better and faster.

lettuce hem sewing
6. Now cut many strips of fabric from different prints and solids. The width of strips will vary from 1 inch to 4 inches depending upon which color/print you would like to highlight and which one you just want to show a little sliver of.
Also the length if these strips will keep on increasing with each tier. A good rule of thumb is to add a quarter into the length of previous tier to get the length of next layer(tier)
One you cut out the strips, Sew along their smaller sides with right sides together to form a circular strip. Now sew a lettuce hem along the one raw edge as shown above.

sewing the tiers together in a dress
7. Now sew this tier to the earlier one on the dress. Since the lower tier is longer then the upper you will need to stretch the upper tier as you sew. One way to do this right is to use pins to divide the hemline into parts. That way you can be sure that you are stretching the upper tier evenly around the hemline.
This is how I joined the tiers in this dress. However, when I asked to another member of sewingmamas.com how she does it, she showed me a very different way. And I found that her technique is much better than mine because then you don't see the joining seams. So here is a little detour on the better way of joining the tiers.

cutting out the tiers of dress
8. Cut the two tiers you need to join. The lower tier is about 1.5 times longer than the upper tier.
joining dress tiers
9. Pin the tiers together at every quarter of both tiers. Wrong sides together. Yes! Wrong sides together.

lettuce edge hem on tiers
10. Now stretch the upper tier to match the length of lower tier and sew a rolled hem joining both tiers. You have to be really careful when sewing this because you don't want any of the fabrics to be left out when you do this. Use more pins if you need and go slow and steady.

adding sleeves to the dress
11. For the layered cap sleeves, use the armhole as a measurement to draft the sleeves, the length at the lower part if the sleeve shouldn't be more than 1.5 inches.
Cut from two fabric with the upper fabric slightly smaller than the inner fabric.
Now sew lettuce hem on the straight end of the sleeves ( both fabrics). Sew a seam on along the lower part of the sleeves to make it a tube. Do it for each fabric individually, so you get two tubes per sleeve.
Now pin the sleeves to the dress and sew them on.

cutting out the neckband of dress
12. For the neckband, measure the neckline all around. Lets call this length L. Cut out a 2/3L long and 2 inch wide ( actually after making many Tshirts and tops this way, I have now realized that 3 inch is the optimum width for neckband, but I took 2 inch in this dress) strip. Sew the small sides ( right sides together). 

sewing the neckband to the dress
13. Now fold this strip in half along the width, such that the seam is hidden in the fold. Pin it to the neckline.

sewing the neckband to the  dress
14. Sew the neckline with a zig-zag stitch so it has some stretch.

turn out
15. Turn out. Here is how it will look.

how to sew pieced knit dress
Layer cake dress is ready!
I will show you how to make the cake motif next week.

pieced knit dress tutorial
 Here is similar tutorial for a pieced dress made with serger by Lil Blue Boo. As a bonus, she also shows you how to make and use stamps to block print the dress. Must see!

Pin It

Monday, October 29, 2012

Let Them Eat Cake!


First there was this Layer Cake Dress then the Pumpkin Pie Dress and now this blown up Cake Playfood/Pincushion. Whats up with this sudden sugar overload at the Blooms And Bugs.

Well! Here is a little tidbit about me ( which you are dying to know, I am sure) - I don't usually eat cake at parties. Since we are vegetarian, we don't eat eggs which rules out most of the cakes, pies etc for me. At our own parties we do get cakes without eggs so we just load up on it. We did it on our daughter's birthday party a couple weeks back.
Anyhow, lately I have been trying to curb sugar in my diet. As a result, whenever I think of a project some trigger goes off in my mind and I end up making some sweet or the other. It doesn't help that the little one has a sweet tooth and is willing to wear it on her sleeve ( or dress front in her case).
The cake above is my first project for Pellon, keeping my fingers crossed that it gets published soon.


Pin It

Friday, October 26, 2012

Interactive Tshirt Tutorial : Friday Feature

how to make interactive tee

With the staggering amount of blogs I read everyday, I come across new and creative ideas practically every hour. But every once in a while I see something that is pure genius. This Interactive Tshirt Tutorial by Stacy of Boy, Oh Boy, Oh Boy! guest posting at Made By Me. Shared With You. falls squarely in that category. The world definitely needed these earlier.
These tees will make you a rock-star in the eyes of any little guy you make them for. Come to think of it, I wouldn't mind wearing one of these myself.
Not to be missed...has to be made.


Pin It

Ballerina Costume DIY

Going a little overboard on costumes, aren't we? Promise this one is last, but I had to show it.

So pink and poufy! All girly!

The basic technique is same as the mermaid costume here. So instead of giving you all the steps I'm just listing out the differences. You know, in case you would like to make one of these.

Supplies:
Crochet Elastic waistband ( Small to Medium)
Pink Tulle 6 inch roll 100 yards
White Tulle 6 inches wide 25 yards

1. Instead of tying tulle on one edge of the elastic band, you tie it to both ( yes BOTH) ends. Then you fold the band in half. This is what makes it so full.
2.All the white tulle pieces are tied 5 inches above the ends. No staggering needed for this style of pettiskirt.
3. Cut the tulle pieces twice the length from band to the knee. Ballerina dresses typically stay above the knee so we need to cut shorter tulle strips for this costume.


4. Instead of tying the elastic at only one shoulder, I threaded it through the top edge of crochet band in front and then took both the ends and threaded them at the back. Then I tied them at the center of the back. This will make the dress more snug and comfortable to wear.
5. Take out the stem and stalk of some fake flowers and layer them on top of each other. Hand-sew these flowers on the crochet band.

 See! A perfect dress for a ballerina....

err..biker!


Pin It

Thursday, October 25, 2012

Sewing tutorials for fall: Blooms And Bugs 2011

I thought it will be fun to glance at my archives and see what I made last fall. A lot of clothing patterns I made brought back happy memories, both of sewing them as well as doing things while wearing them. Some of them brought a lot of recognition as well. Here are some of my favorites from last October.

halter neck dress sewing tutorial
This Grow And Gather Dress was my first tutorial for Moda. I really fell in love with this beautiful print by Deb Strain ( Meadow Friends Collection). My daughter wore it last month and someone said that it was my best creation so far. Well! I may differ with that but I love this dress.

knotted hat sewing tutorial

This Devil's Advocate Hat was part of my Halloween Projects. I was much less confident about my sewing at the time and every project was kind of "will it work..won't it work?" project. But I think this hat turned out rather cute. And looked even more adorable on my little model.

sewing a long sleeved tee
 Here is the Nordic Prince Shirt that was the part of my Sew  Easy series.

how to add sleeves to a short sleeved tee
When I posted the tutorial Octoberize Your Tee, I just meant to present a practical solution of kids summer clothes getting shorter in winter. I never expected it will strike such a chord with my readers. apparently, you guys love practical projects as much as the cute ones ( maybe more). It has been featured in the newsletters of All Free Sewing many times over the year and has brought in lots of traffic. Who knew?

coveralls sewing tutorial
These Rumble Tumble Coveralls weren't posted in October, but they have been such a big hit that I had to include them in the list. My daughter wore hers throughout the year, until they were about 2 inches too short.

So that was my roundup of fall sewing tutorials from last year. I had fun going down the memory lane. How about you, have you seen all of them earlier or did you see some you missed the first time around. I'm thinking of doing another spin on one of these. Any guesses which one?

Pin It

Tuesday, October 23, 2012

Fringed Scarf Mini Tutorial


A couple of years ago Old Navy had this great sale on fringed fleece scarves. They were super soft and came in a number of pretty prints and colors. I loved them so much that I stocked up on a good number of those. Then I took them to India with me and my sisters, cousins and sister-in-laws loved them so much that I ended up giving all of them away.

fringed scarf DIYNext year I waited for Old Navy to do that awesome sale again, but it didn't happen. I thought I would just buy a couple in cute prints at a higher price, but the selection was really limited. Since this year's selection is not looking very promising either...I just thought I will make my own.


The Ring Your Neck Challenge by Rikka of Ricochet and Away was just the push I needed to get it done.  By the way, you may want to enter this challenge, there's still a lot of time to make your own scarf and the challenges over at Ricochet and Away are always a lot of fun and very inspiring. Rikka even put together a pinterest board for scarf inspiration for the challenge.

On my recent trip to Joann I got two cute prints of fleece and made my own fleece scarves. It is super easy to do and I think I'm going to make many more for my whole family back in India.
Here is a mini tutorial on how to do it:

Supplies:
Fleece - quarter yard
Good to have - rotary cutter and self healing cutting mat

Time: 15 minutes

Difficulty level: Beginner

Cost: $2 approximately

The construction of this scarf begins at the fabric store. Ask the store associate to take out any uneven fabric, before she cuts your quarter yard. Because we are using the whole fabric we don't have any room for taking out fabric to remove uneven edges. Watch her carefully as she cuts the fabric and make sure you get a nice even quarter yard of fleece.


cutting fringes for scarf tutorial

Remove the selvedge from both ends of the quarter yard.
Use your rotary cutter, self healing mat and a ruler to cut 6 inches long and half inch wide fringes at both ends. You could also do it with a scissor but I felt that rotary cutter made the edges sharp and smooth.

fringed scarf DIY
And there you have it - fringed scarf!

make a no sew fringed scarf

It was so easy and simple to do that I made another one right away.
I love my new scarves and in fact, I'm wearing one as I type. Now I can have the best deal on scarves whenever I want.

Dec Roses Scarf tutorial

kids scarflette tutorial

Here are some scarves I made in the past, in case you decide to join in the scarf making fun.

Pin It

Sunday, October 21, 2012

Ladybug Halloween Costume DIY

ladybug costume diy
Photo by Ami Mathur Photography

I have always been fascinated with tutu dresses, the numerous strips of tulle, the translucent fabric and the ruffles and waves all feel so feminine and delicate. I could make the skirt easily but the top always stumped me, it had to match the sophistication of the tulle yet it had to comfortable and stretchy enough so little kids don't feel scratchy or uncomfortable. All those questions were answered when I saw the various tutorials with 
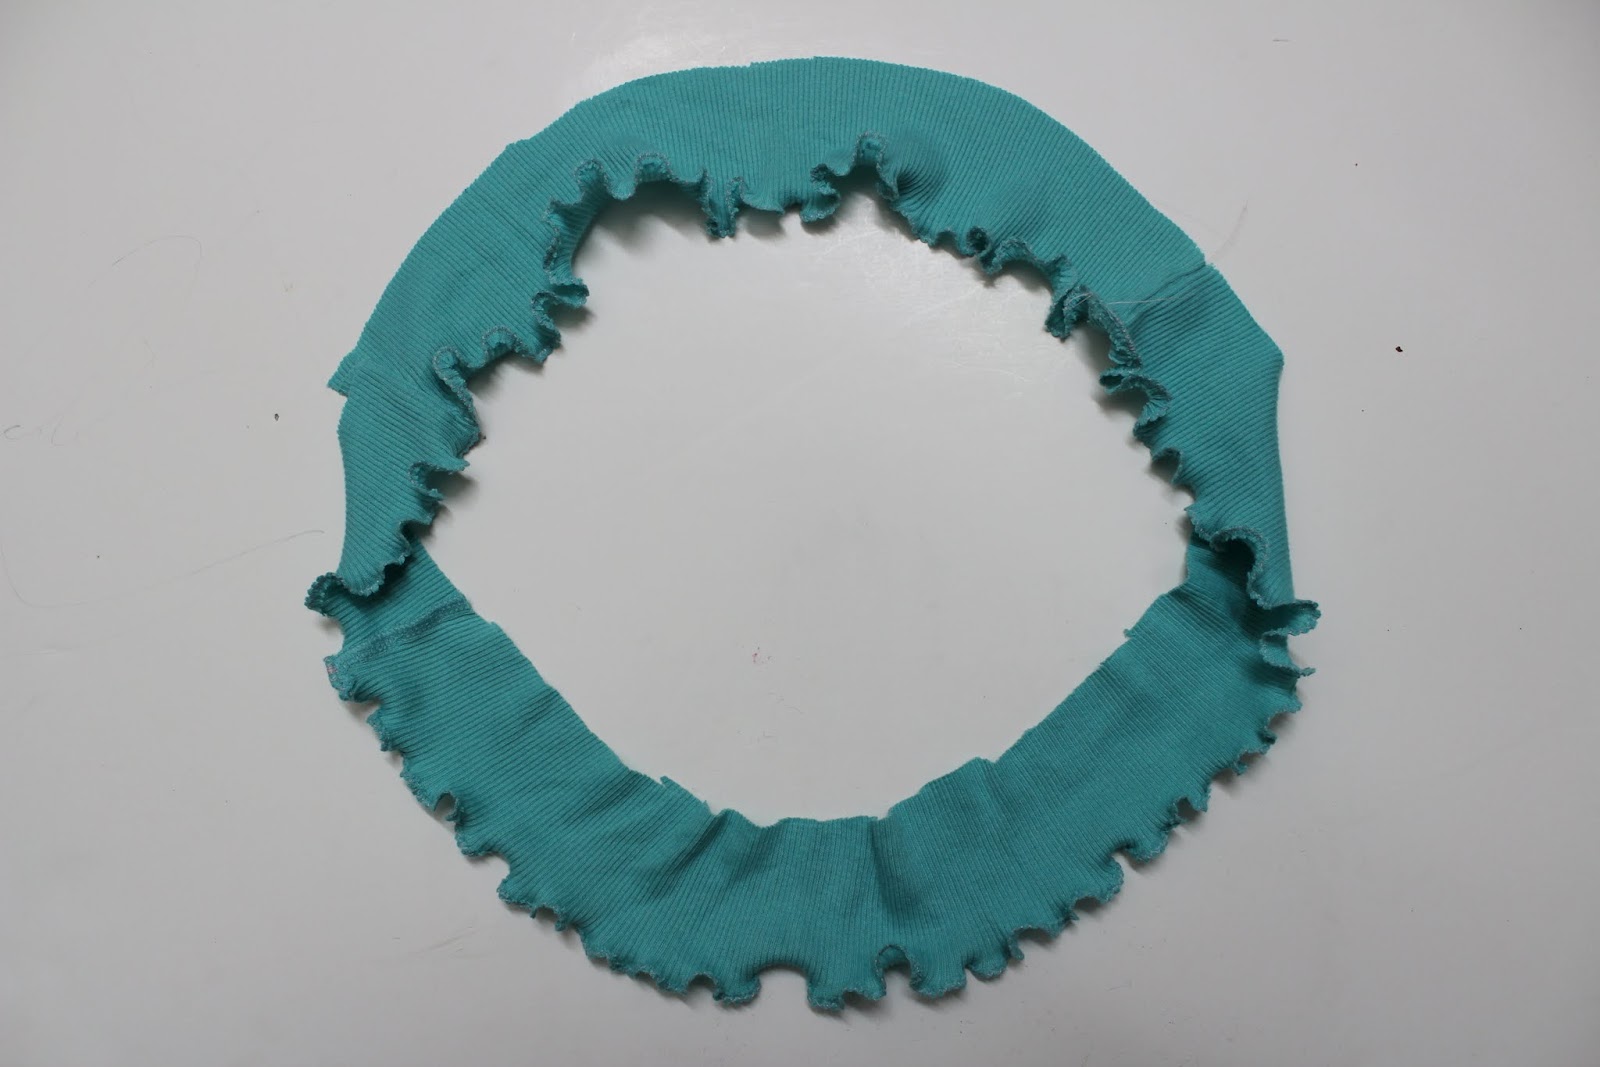
Ruffle Fabric popping up in the blogosphere. It was equally girly and just beautiful and from what I heard from other bloggers, it was super soft and stretchy. I just couldn't help asking folks at ruffle fabric if they would sponsor some of their beautiful fabric for my projects. They agreed to send a couple of fabrics my way. My first thought when I saw the fabric was- Oh man! this is so beautiful, I could just drape a child in it and it will look good. No really! this fabric is simply gorgeous. I could think a ton of  things that I could make with it, but one thing kept coming to my mind again and again - Ladybug!
So ladybug it was! and I think we found a rather cute one.

Ruffle fabric runs a bit pricey but if you look closely the fabric is 48-50 inch wide as opposed to 36 inch that  is standard width of quilting weight fabric and since it is a pre-ruffled fabric, you really don't need any trims and notions to make a garment. So I felt it was very good value for money. In fact, I feel I'm kind of hooked and am going to buy some more of it to make the other projects.

So back to the ladybug, here is how to make the ladybug costume.

Supplies:
Hot Tamale Mini Ruffle Fabric: Quarter yard
Quarter inch elastic: Black: 3/4 yd
6 inch Tulle Red : 50 yd ( You could also cut 6 inches strips from complete yardage, it will be a bit more work but will be probably cheaper)
Red elastic (quarter inch wide of Foldover elastic): 3/4 yd
Elastic thread - Red or Black
Fake red flowers - 1 stem from dollar store or 1 big flower

Construction Time - 2-3 Hours

Difficulty Level:
Beginner to intermediate

Construction:
cutting tulle strips

I generally use my wooden floor to cut tulle faster and evenly. The tiles are 5 inches wide which is just fine for my purpose. I fold the tulle in multiple layers until it is about 10-15 inches wide and then lay it on the floor such that one end lines up with the tile edge.

how to cut tulle strips
Now I cut the tulle at each edge of the tiles and just like that, evenly spaced tulle strips!

tulle strips cutting tutorial
Now from each of these strips cut out 30 inches long pieces. Make a nice pile of these pieces.

how to make a tutu
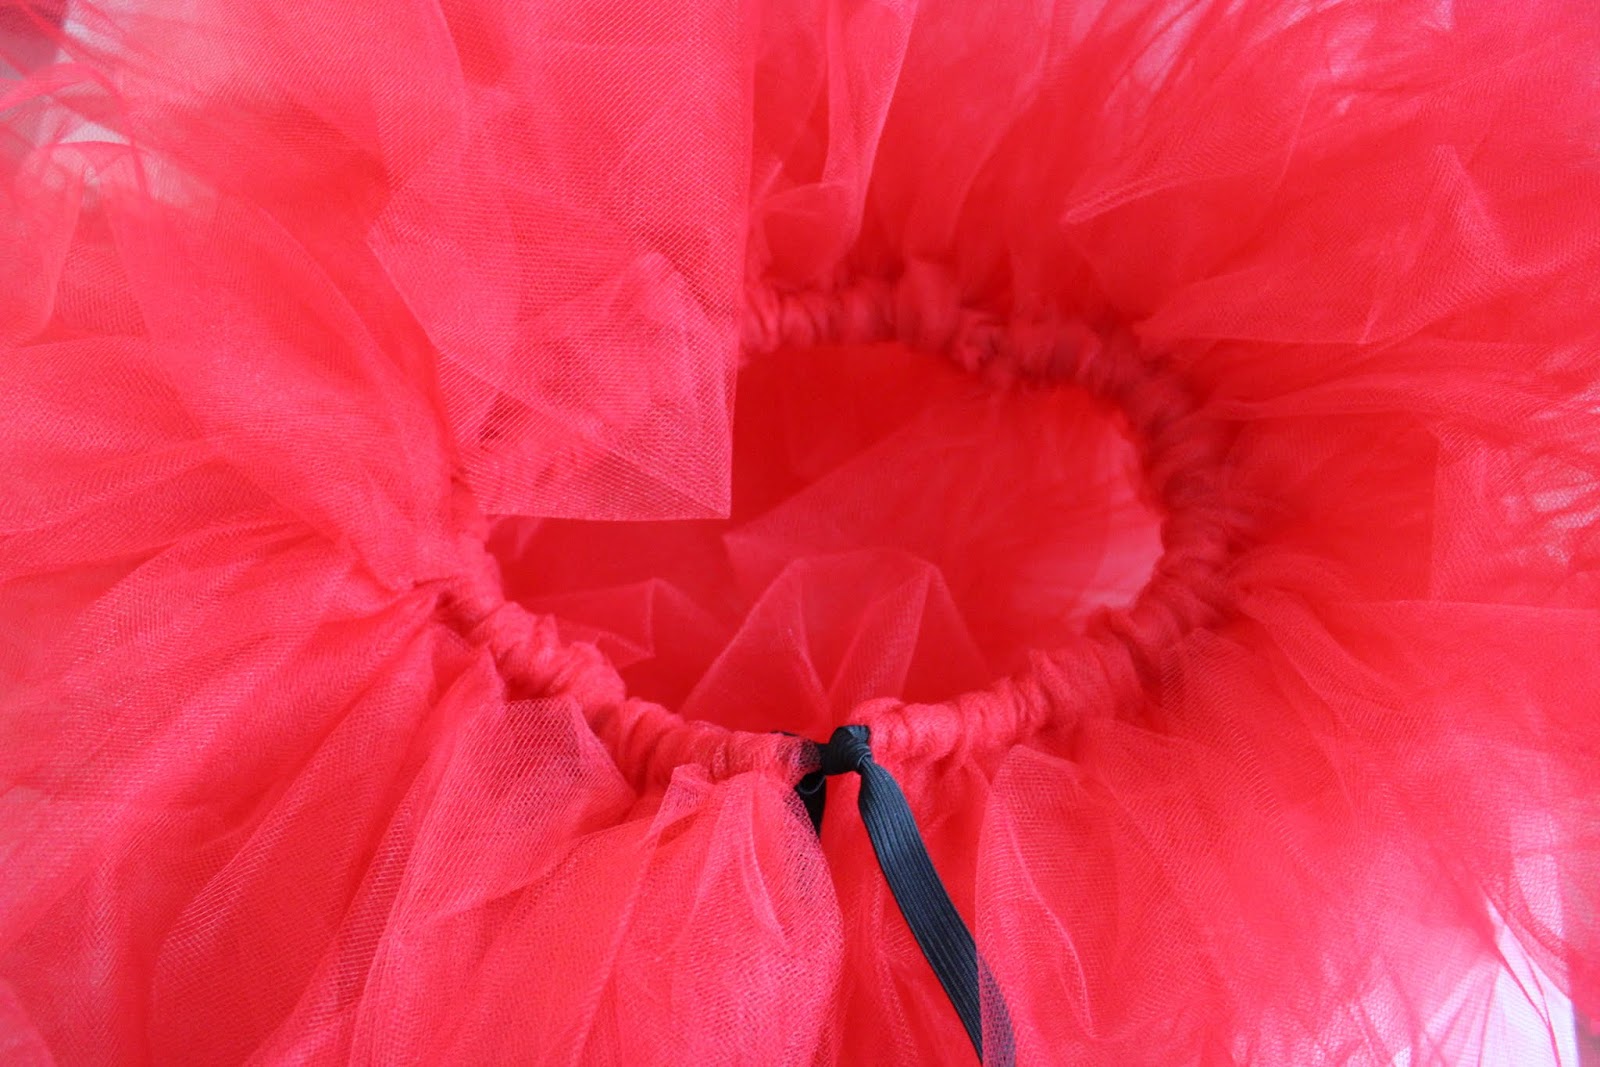
Now take the black elastic and cut a piece equal to child's waist -1 inch. Tie the tulle strips on the elastic as shown in the image above.

tutu tutorial
Keep tying the tulle until the whole elastic is full.

how to sew a tutu
When you reach the ends of elastic secure them with a knot.

ruffle fabric dress tutorial
Now cut out a ruffle fabric 9 inches long X child's waist -1 inch wide. Sew the 9 inches long ends together ( right sides together)

ruffle fabric and tulle dress
Now use 3 step zig-zag stitch to sew the tulle skirt over the ruffle fabric. This will take a bit of patience as the tulle skirt becomes bulky at the elastic but just use a stronger needle ( home decor) and go slowly. Use hand stitching to sew the knotted part of the elastic to the ruffle fabric. Don't worry if it doesn't look very neat at this point. We will take care of it later.
If you don't think your machine can handle this you could always sew a 2 piece outfit with the top a bit longer (~13-15 inches) and the wear the skirt over it. I think it will still look the same.

Here is what you will have once you are done.

shirring ruffle fabric

Use red/black elastic thread to shir the back of the bodice. Since the fabric will shrink as you shir, make sure you shir two third of the bodice to give an illusion of  the back half bring shirred. Start shirring from the top and stop when you think you have a snug fit.


Cut two pieces of red elastic - 12 inches long each

Sew them 2.5 inches apart at both front and back edges of bodice. These will work as shoulder straps.

Cut two ruffle fabric strips 3 inch X 11 inch

Cinch the strip at the center and sew it at the center of the shoulder straps.

Cut another 3 inch wide strip with the length equal to the waist size + 1 inch. Cinch it at the center and sew.

Now sew hand tuck this cinched part of strip at the center of the waist of the dress front.


Now sew the 3 inches wide ends right sides together. Now hand-sew them at the center back, covering the knot in black elastic, if visible.
Cut any loose ends. If needed, hand-sew the belt at the sides too. You may have noticed that I didn't talk at all about finishing the raw edges. That is because ruffle fabric is a knit and it doesn't fray. Moreover, ruffles do a great job of hiding the raw edge, so I just spared myself the trouble and left them as is.

Now remove the stalk and stem of 3-4 flowers,

Layer them on each other and sew a black button in the center.

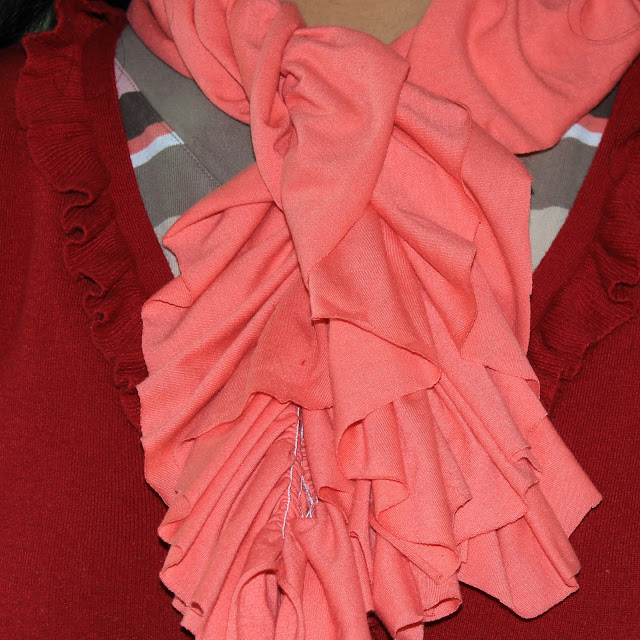
Sew the flower at the center of the dress. The dress is ready.
Pair it with red wings, black tights and black shoes.

red ruffled dress tutorial
 Photo by Ami Mathur Photography

Hello Ladybug!

 Photo by Ami Mathur Photography

Which flower caught your fancy today?

Need more costume ideas? Here is my No Sew Mermaid Costume Tutorial under $20. I have also compiled some hubs for costume tutorials. Here is a hub for princess costume sewing tutorials and here is another roundup of Animal Costumes DIY. For even more costume DIYs visit my other blog Sew Pretty Sew Free where I featured Halloween Costumes DIY everyday in September.


Pin It